Appearance
Notification node
Use Notification to send a workflow message.
Create a notification node and message
- Open the workflow on the form named
a test formand select the + connector where the message should be sent. - Choose Notification from the node palette. Connect its incoming and outgoing paths; a Notification node accepts one parent and one continuation.
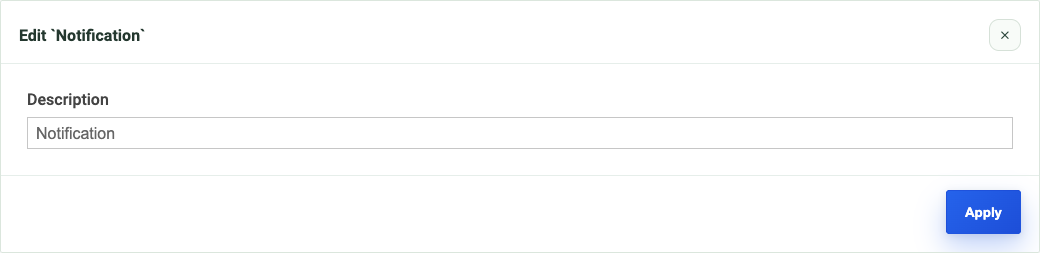
- Select the node’s settings button (Open settings) and give it a non-empty Caption.
- In To, choose a company user, group, or eligible form-field value. For a field recipient, the field must have a stable name and contain a usable address at runtime.
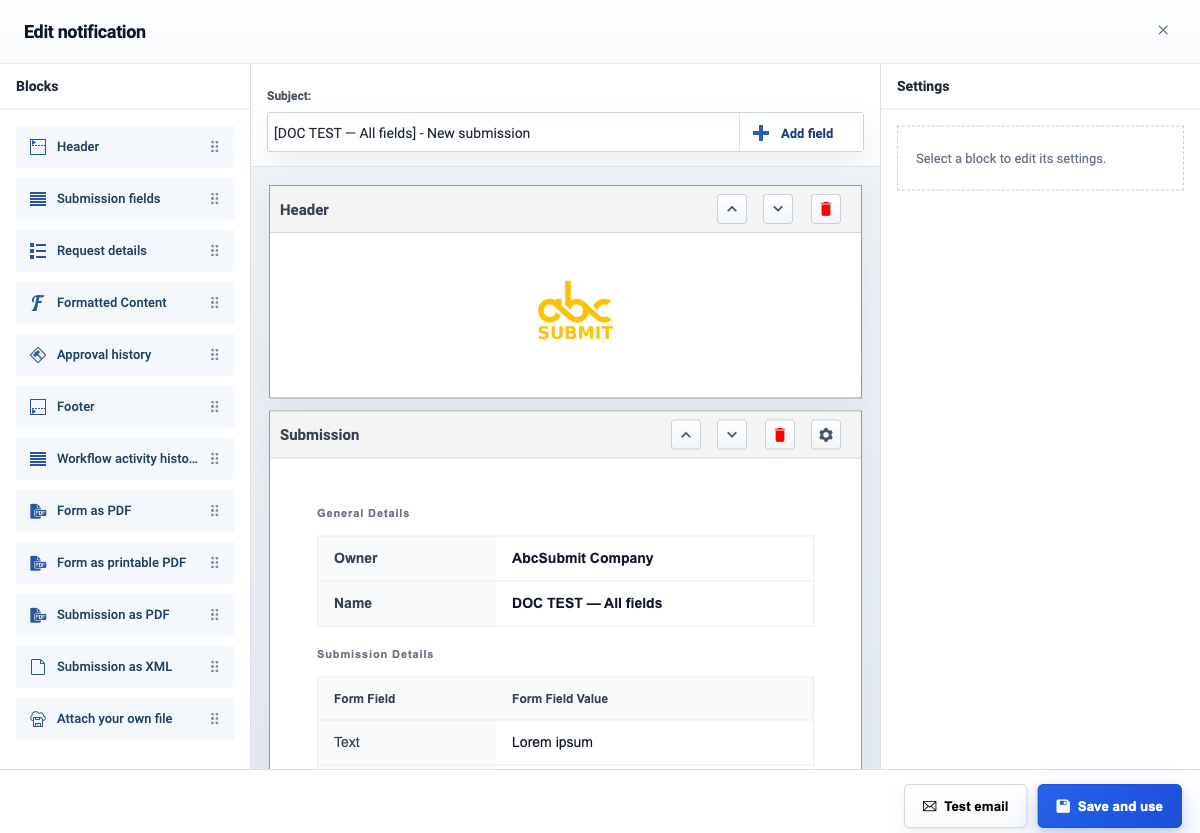
- In Notification, use the speed-button New notification to create a message, or select an existing permitted message. The message editor opens with a Subject input, a block palette, a canvas, and a block settings panel.
- Add message blocks by clicking or dragging them into the canvas. Available general blocks include Header, Submission fields, Request details, Formatted Content, Approval history, Footer, Workflow activity history, Form as PDF, Form as printable PDF, Submission as PDF, Submission as XML, and Attach your own file. Approval/request/task-specific blocks appear only for notification types that support them.
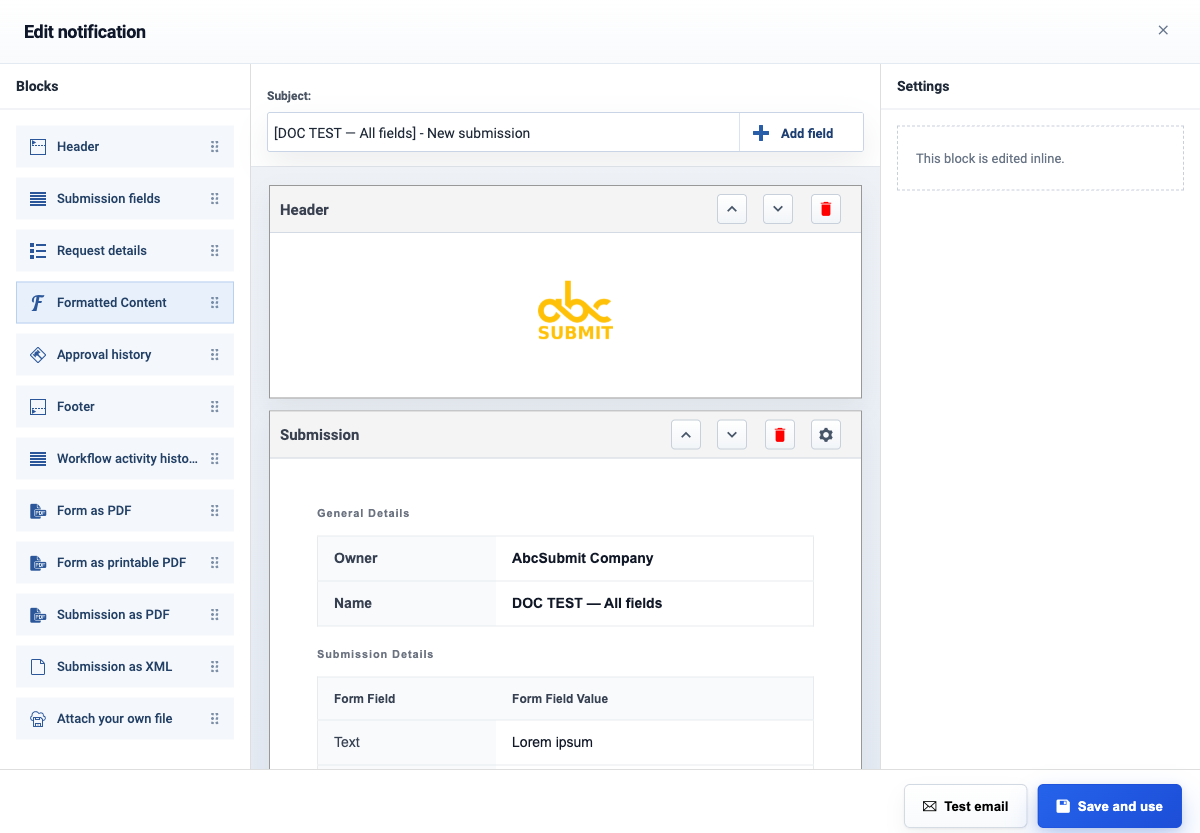
- For custom prose, insert Formatted Content. Its inline editor provides a Paragraph control and Variables; type the custom text directly into the editable content area, and use Variables to insert form placeholders where available. The block is edited inline rather than in the right-hand Settings panel. Move it with Move up, Move down, or remove it with Remove.
- Select each inserted block and configure its settings. Use Test email only with an approved account mailbox; it queues a message to that account email address.
- Select Save and use. This saves the notification message and returns it to the workflow node’s Notification selector.
- Select Apply in the node inspector, then Save in the workflow canvas. Applying the node alone does not persist the workflow graph.
Settings
Set Caption, Recipient, and Notification/message.
Test
Use an approved test mailbox. Verify recipient, subject/body, form context, and failure handling. Never put confidential information in a message sent to an unverified recipient.
The v2 inspector exposes To and Notification. To can use a user, group, or form-field recipient according to the account’s recipient picker. Notification is the message template sent by the workflow. Applying the node shows Applied, but the workflow still requires a separate canvas Save.
If the selector shows no usable message, create one with New notification. Existing messages can be edited, duplicated, or deleted from the selector; deletion affects any workflow that references that message, so use a dedicated message during testing. A deleted form field or user can appear as an invalid recipient and must be replaced before execution.
Validation and runtime behavior
- The node caption is required; Apply rejects an empty caption.
- The node must have exactly one incoming and one outgoing connection to be saveable.
- A missing recipient or notification message is invalid even if the card still looks Ready.
- A form-field recipient is resolved when the workflow runs, not when the node is designed; empty or malformed values can prevent delivery.
- Notification content can contain submission data and attachments. Review every block for data minimization and recipient authorization.